Updated:
- Upgrade the Catalina to the Big Sur
- Don’t want to try these complexity steps? Just Run my pre-made macos BigSur VMDK
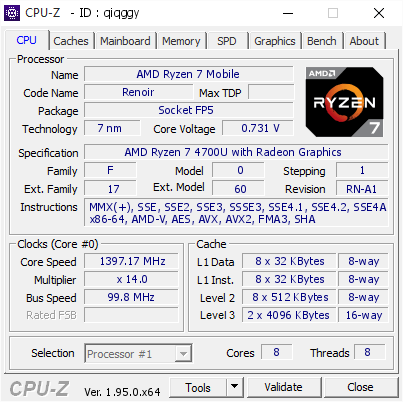
I had bought a new laptop on Dec 2020 to replace the old one – Sony VAIO E VPCEG23 11 years old, It’s ASUS Zenbook UM425IA from newegg.com, but wait, the AMD laptop. Yeah, it’s AMD Ryzen 7 4700U with Radeon Graphics Vega 7.
This is my new laptop specìication:
- ASUS Zenbook UM425IA-NH74
- AMD Ryzen 7 4700U Processor (8M Cache, up to 4.1 GHz)
- 1 TB PCIe NVMe Intel SSD
- 16 GB LPDDR4X RAM Dual chanel
- Windows 10 Professional included
- HDMI, USB Type C, Wi-Fi 6 (802.11ax), Bluetooth 5.0
- USB 3.2 Type A, USB 3.2 Type C and Micro SD card reader
- USB-A to RJ45 ethernet adapter and USB-C to Audio Jack dongle
And this guide is a Personal experiment about how to setup the Fresh MacOS on the Laptop AMD with Windows 10 host.
VMware’s graphics acceleration not being compatible with macOS, you will not have any graphics acceleration in your virtual machine.

Prerequisites
- CPU also needs to support the SSE4.1 and AMD-V
- VMware Player /Workstation Pro 15 or higher
- VMware Unlocker: https://github.com/DrDonk/unlocker
- A VMware AMD macOS installer 10.15.0
Configure the VMWare
- Install the VMWare as your way, either Player or Workstation will be fine.
- Run the Unlocker by running the
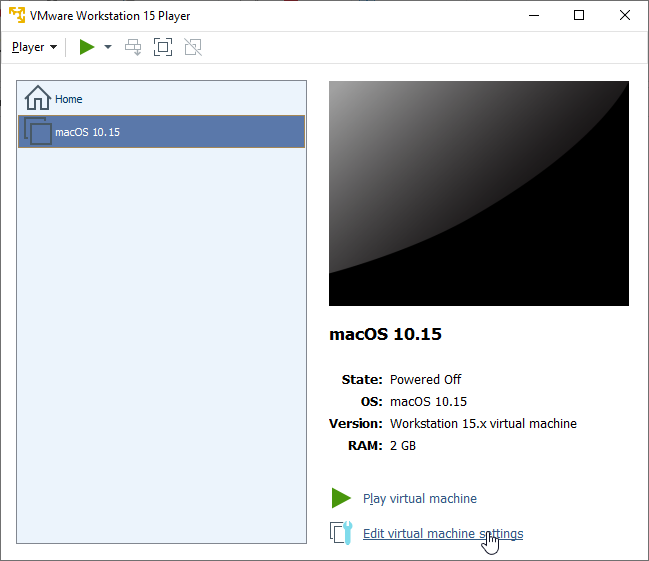
win-install.cmdwith Administrator right. - Open VMWare, create a new VM, Select
Apple Mac OS Xunder Guest operating system and choose "macOS 10.15" under Version. Leave all the option to the default. We will update the Hard Disk later. - Click on Finish once finished.
- Update the Hard Disk by Click on Edit virtual machine settings.
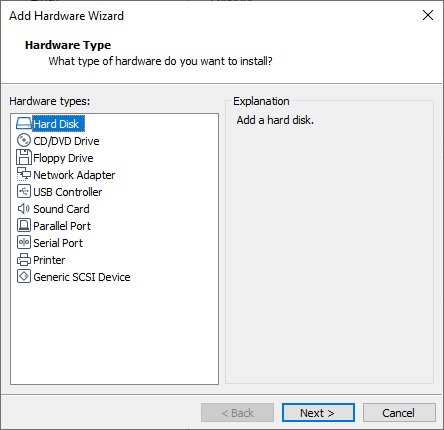
- Add a new Hard Disk by click on Add.. -> Hard Disk
- Select SATA -> Use an existing virtual disk
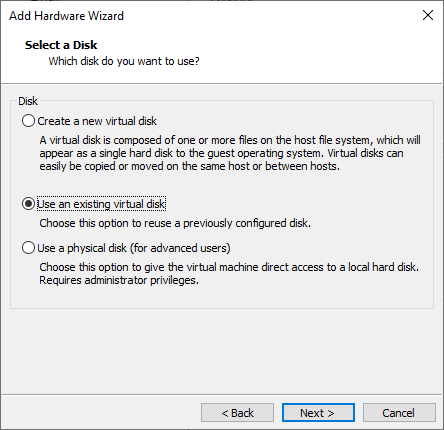
- Click on Ok when Finished.
Installation MacOS
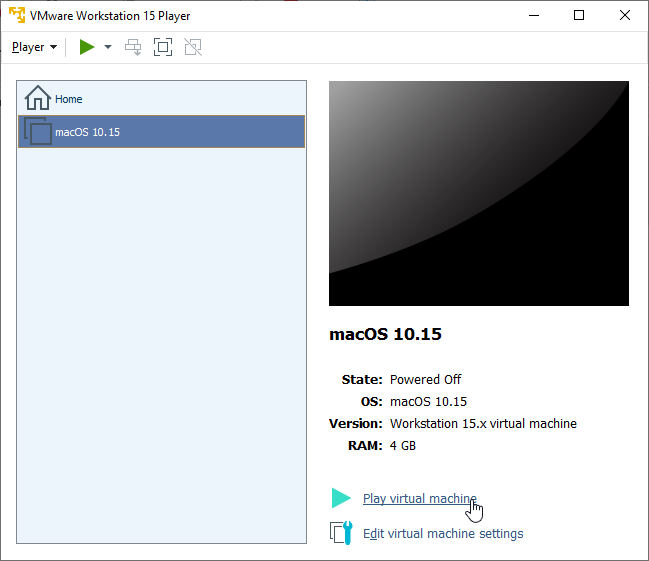
Start the virtual machine.
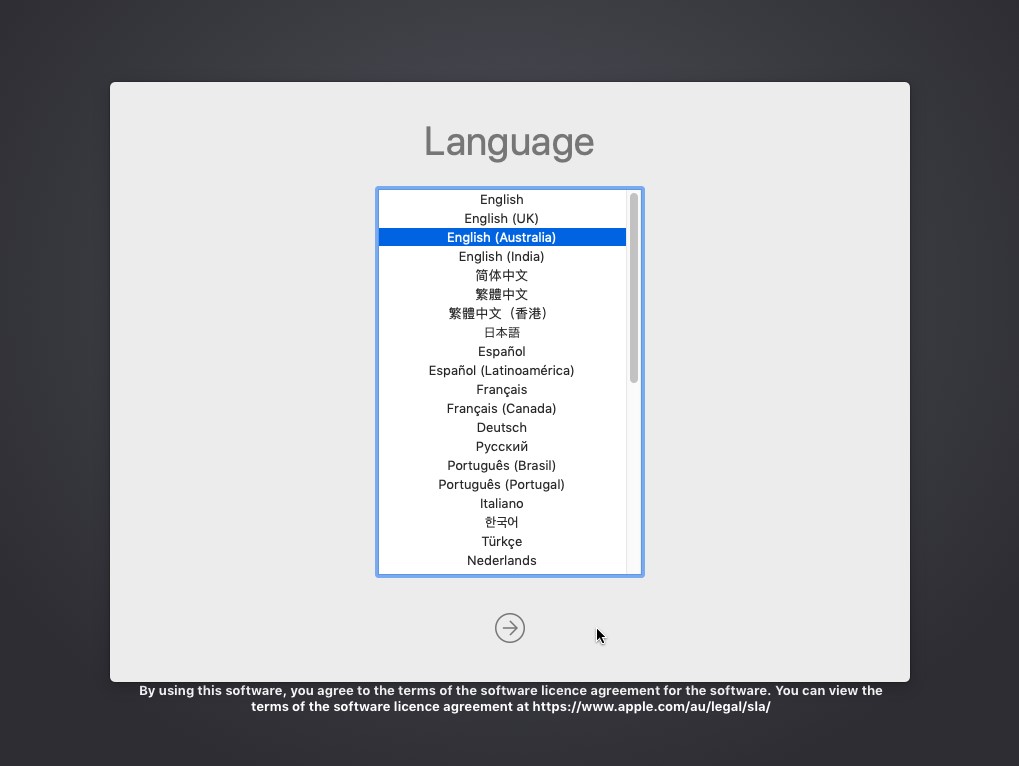
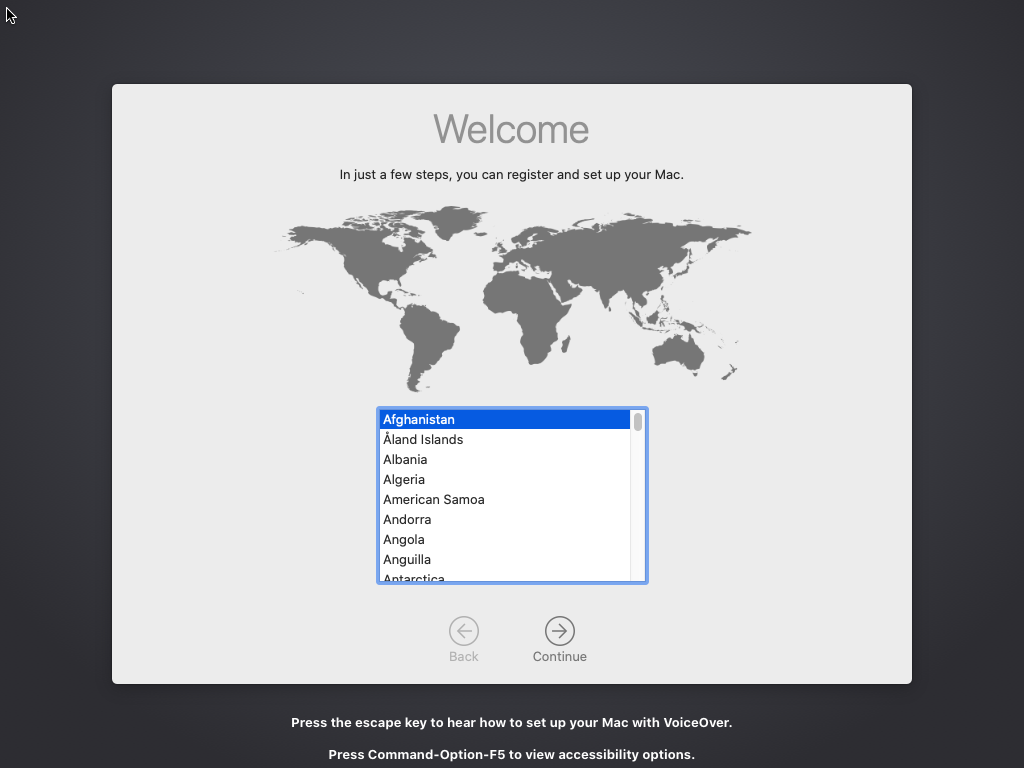
The language prompt will come up. Select your language and continue.
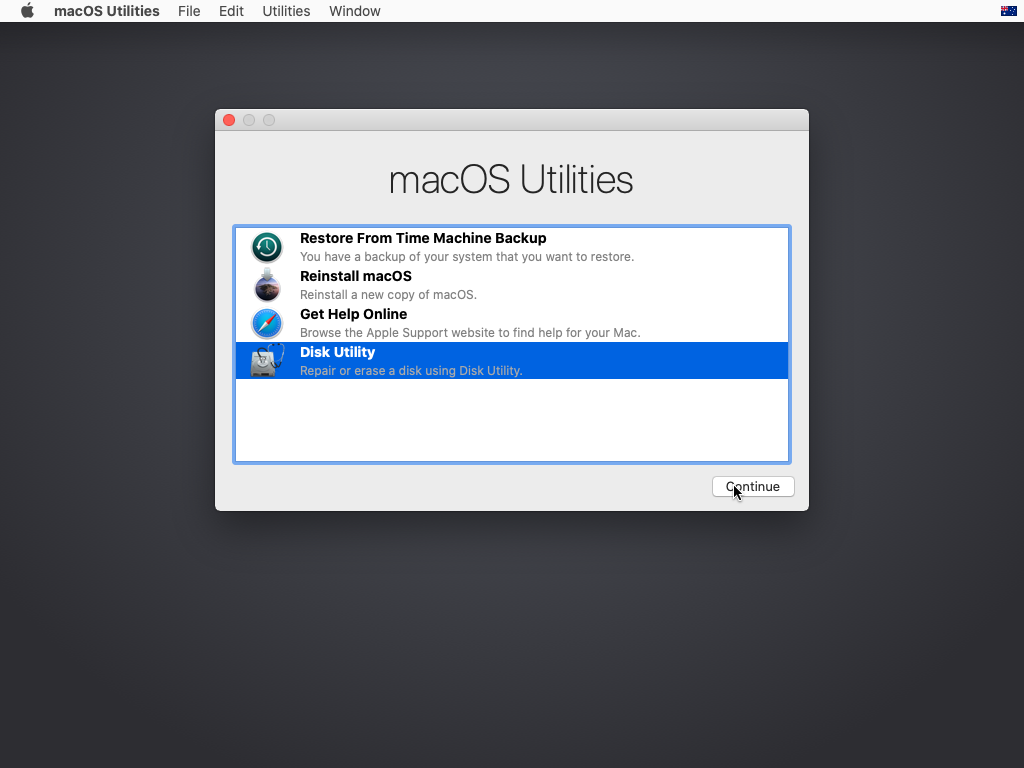
Select "Disk Utility" and press "Continue".
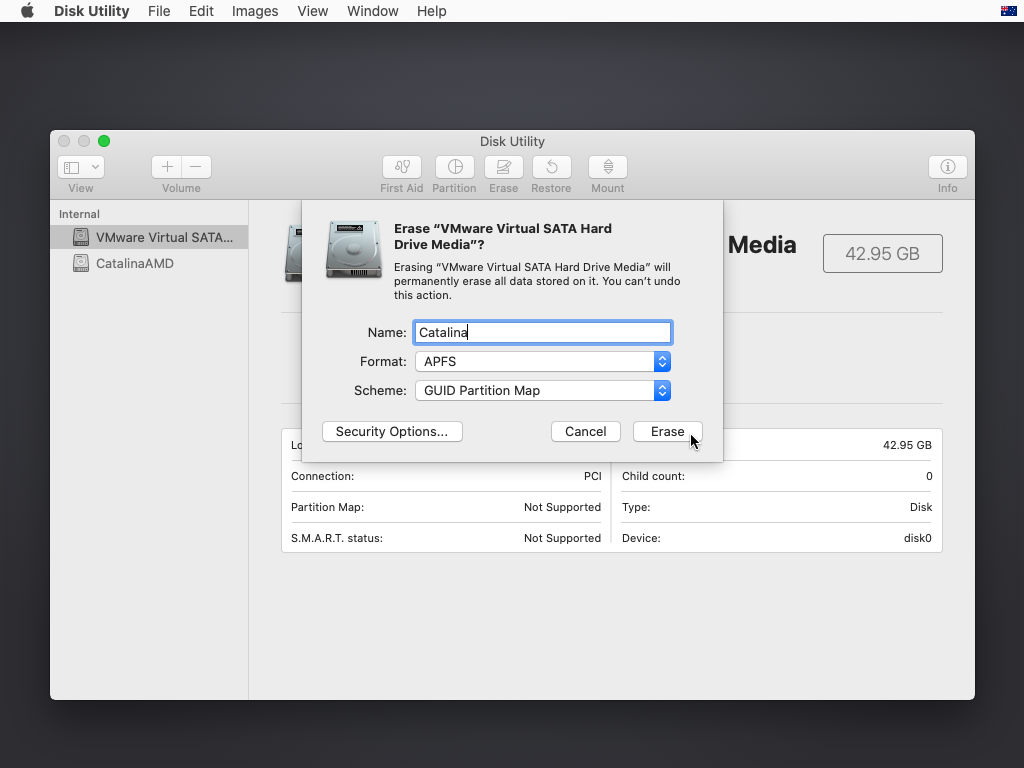
Select "VMware Virtual SATA Hard Drive Media" under "Internal" hard drive.

Select "Erase" in Disk Utility. Name the drive "Catalina". Change "Format" to APFS and press "Erase". Press "Done" and close Disk Utility.
Select "Reinstall macOS" and press "Continue".
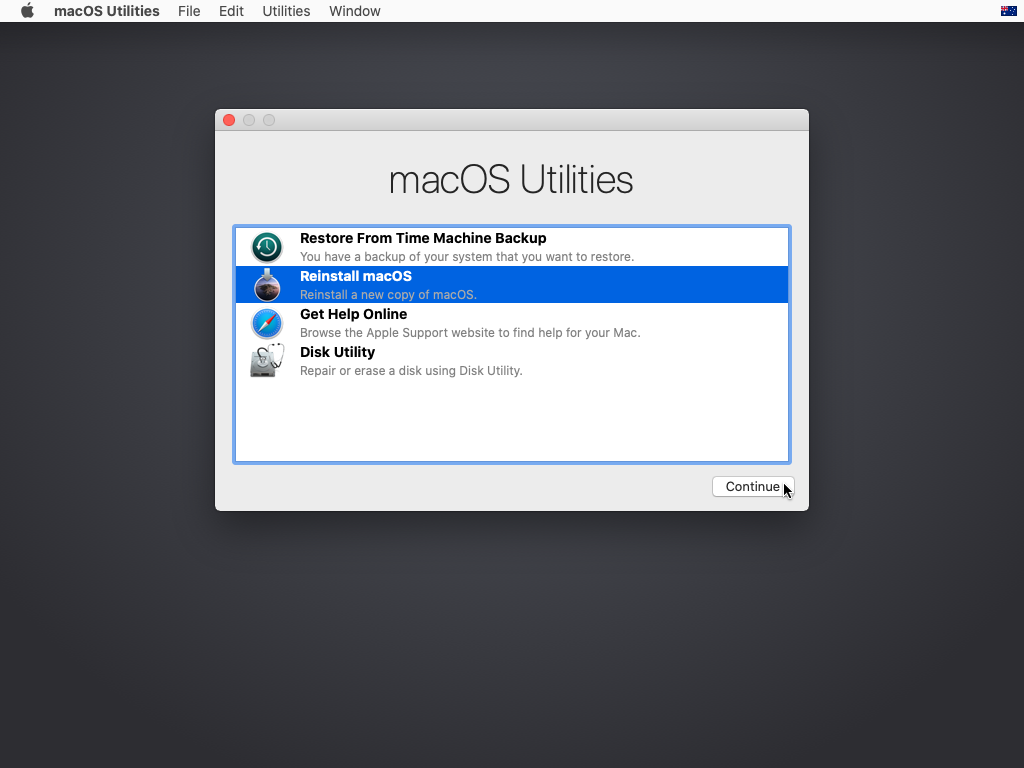
When the installer opens, press "Continue".

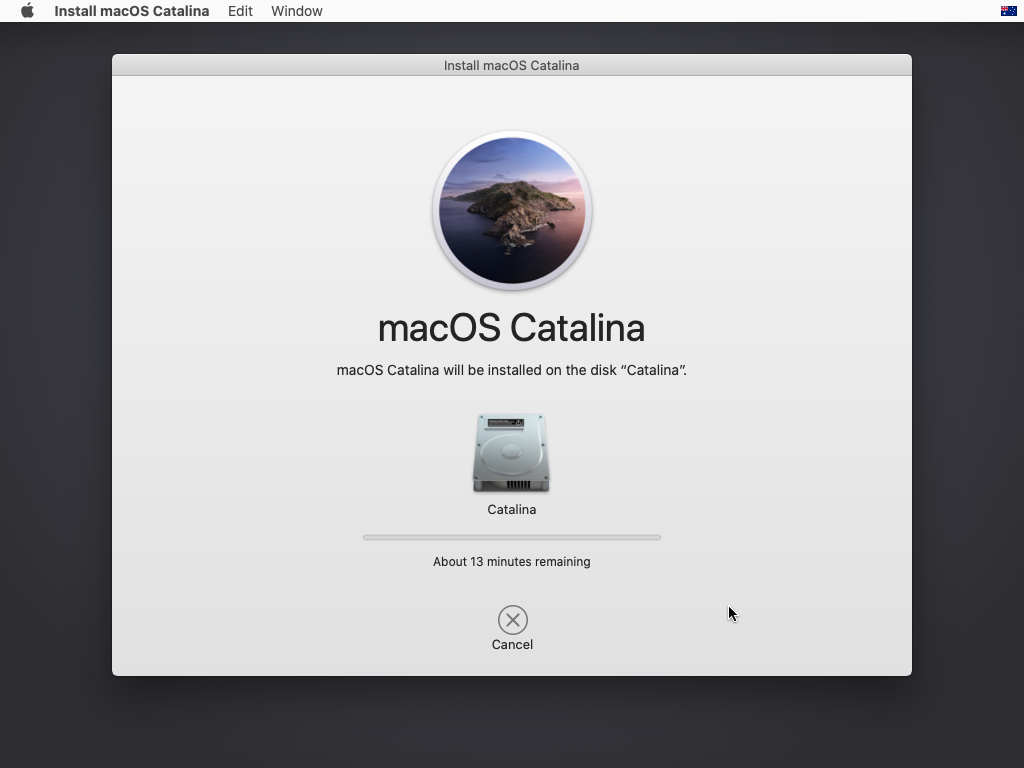
Agree to the terms and conditions. Select the hard drive that we erased earlier with Disk Utility and press "Install". Sit back and let it install.
The CPU has been disabled by the guest operating system. Power off or reset the virtual machine.
Edit the vmx file by adding the following line to the bottom of the vmx file:
bios.bootDelay = "2000"Back to the BIOS, Select "EFI VMware Virtual SATA Hard Drive (2.0)" and press enter. This is our Catalina installer that we are booting.

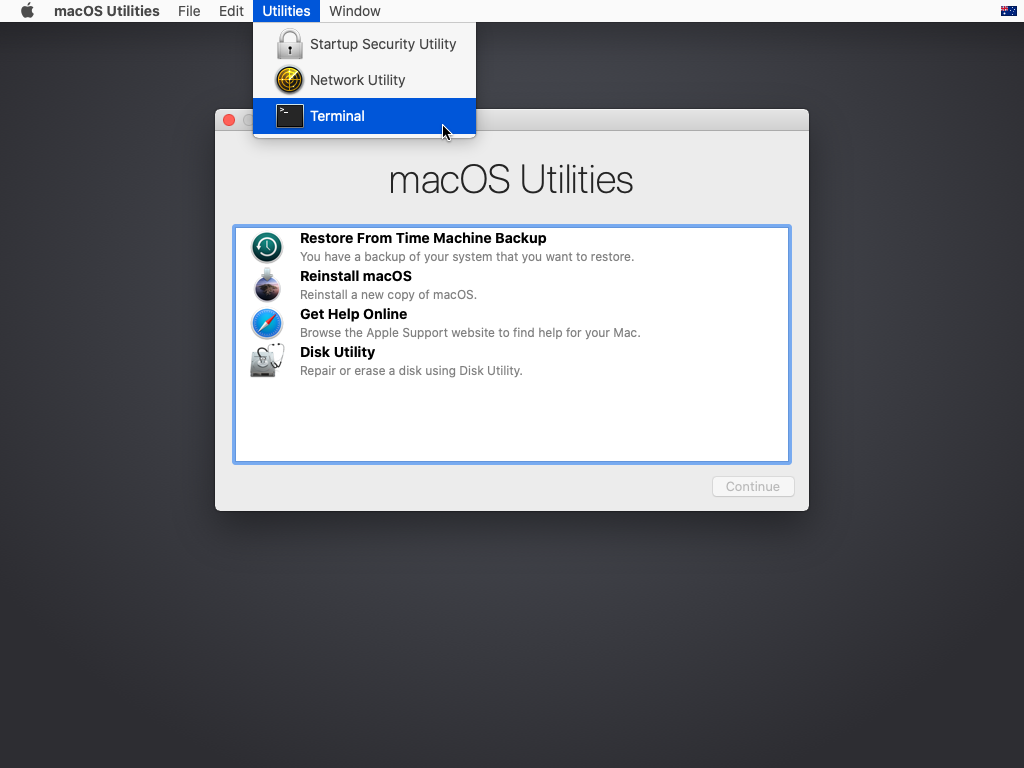
Once the installer has booted, click on "Utilities" in the Finder bar and select "Terminal".
Type this command in Terminal (replacing "Catalina" with whatever you named your hard drive earlier):
cp -rf /Volumes/CatalinaAMD/System/Library/PrelinkedKernels/prelinkedkernel /Volumes/Catalina/"macOS Install Data"/"Locked Files"/"Boot Files"/
With that command, we coppy all the prelinkedkenel under the installation source CatalinaAMD
/Volumes/CatalinaAMD/System/Library/PrelinkedKernels/prelinkedkernel to the Hark Disk Catalina /Volumes/Catalina/macOS Install Data/Locked Files/Boot Files/
After execute the command, restart the VM again. The Catalina installation process will be continued:

If the VM restarts and you get a ‘CPU is disabled’ error, close the error window, attempt to close the VM window, select ‘Power Off’ and reopen VMware.
Reboot the VM back into the BIOS, select the installer and open Terminal once again. Time to do the post-install commands. (replacing "Catalina" with whatever you named your hard drive earlier):
cp -rf /Volumes/CatalinaAMD/System/Library/Kernels/kernel /Volumes/Catalina/System/Library/Kernels/
rm -rf /Volumes/Catalina/System/Library/PrelinkedKernels/prelinkedkernel
kextcache -u /Volumes/Catalina/
You may get errors, Ignore those errors, the prelinkedkernel should still rebuild just fine.
Close Terminal and reboot into your hard drive. The VM should boot into the setup now. Go through the setup process but DO NOT SIGN IN WITH YOUR APPLE ID, choose "Set Up Later".
The setup almost be done. Do your best 😀
What’s Next?
- Upgrade the Catalina to the Big Sur
- Don’t want to try these complexity steps? Run my pre-made macos BigSur VMDK
Nam Le,
Personal experiment with https://amd-vm.hackintosh-guides.ml/
22 responses to “Install MacOS Catalina On VMware AMD Laptop”
Upgrade to the Big Sur: https://nready.net/?p=1255
These are the only instructions I found that worked for me, thanks.
hi all! after doing the lasts steps
cp -rf /Volumes/CatalinaAMD/System/Library/Kernels/kernel /Volumes/Catalina/System/Library/Kernels/
rm -rf /Volumes/Catalina/System/Library/PrelinkedKernels/prelinkedkernel
kextcache -u /Volumes/Catalina/
and rebooting i get a sign that looks like a stop sign… any thoughts about this???
Hallo snIP3r. Can you read the out put of the terminal? In my case, the rebuild kernel went wrong some kernel but it’s still rebuilt fine.
Hi Nam Le!
After doing all the steps again from scratch it runs. but after updating to 10.15.7 i again get cpu disabled message….
any suggestions? for the this behaviour of mac os x is absolutely crap…
greets
snIP3r
Hallo snIP3r.
Got your issue when upgrading the macOS to newer version. I faced that issue too. So
What is your version of VM Ware Player?
You can try this post https://nready.net/?p=1255, it works not only for BigSur (10.17), but also Catalina (10.15.x) I think you may update a little bit your vmx file.
hi nam le!
i got newer versions running with your settings…. instantly made a copy of the vm 🙂
now, new problem: changing the screen resolution under vmware. did not work with my found solution installing vmware tools in the mac guest and changing resolution via command line…. did not work 🙁
greets
snIP3r
Hallo snIP3r,
You have to install the VM Ware Tool for macos. The unlocker has already downloaded VM Ware Tool for you and copied here:
C:\Program Files (x86)\VMware\VMware Workstation\darwin.iso.Just mount this iso as CD:
1- Turn off your macos vm. Then choose VM -> Settings…
2- Choose CD/DVD -> Browse to the darwin.iso
3- Turn on your macos vm
4- Install the VM Ware Tools from this darwin.iso, when it’s done, restart the macos vm again.
Hope this help.
Hi anh,
I have a “The CPU has been disabled by the guest operating system” issue.
When Power on VM and press F12 to open Bios,
Then “Select “EFI VMware Virtual SATA Hard Drive (2.0)” and press enter”
After Enter, It still show “The CPU has been disabled by the guest operating system” and can’t keep going Terminal step.
Please help me check it, thanks!
Hi em MinhH,
I think your .vmx file need to modify a little bit.
Turn off the VM and try the solution from this post https://nready.net/?p=1255 . Hope this help em nhe.
Thanks for your help,
I follow the post what you sent and install VMWARE PRO 16.
Now, it’s working well!
Hi, does facetime work on this vm?
Thanks in advance
Hi Alex.

Good news, I did try and it works!
Thank you very much.
Hello, I have followed your guide and I am also getting the prohibitory sign on startup. I have retried the guide multiple times and I am still getting this error. What am I doing wrong?
Hi NoahB, try this: https://nready.net/?p=1277
Its stuck on Apple logo and doing nothing.
Any way to check about the issue.
I have AMD 5800h. I have used your BigSur vmdk and it works but is slow.
Hey there Nam Le, thank you so much for making this guide/blog. I just finished installing MacOS Catalina following it and I’m glad I finally got it working.
I do however have a couple of questions:
Since I’m on Catalina, there’s newer versions of macOS available. I’m completely new to macOS. Would I gain anything from updating? And what would be the best way to update it? (Either through Catalina itself or with a new VM?)
Thanks again for the blog!!
bạn ơi, cho mình hỏi là liệu bản catalina này có thể nâng lên các đời macos mới hơn như ventura có đc k ạ?
và làm thế nào để set đc network đây ạ?
mình cảm ơn ạ
Hiện mình đang dùng Monterey macos 12.0. Ventura thì mình chưa upgrade vì khá bận chưa test.
về network thì bạn cứ dùng NAT là ok rồi nha. Kết nối internet bình thường, Facetime vẫn work luôn nha.
Nếu bạn cần thì mình gửi cho bản Montery cho.
Hey there, first of all, you did an amazing job, however, I encountered a problem.
After getting the “The CPU has been disabled by the guest operating system” error, I followed your cpu masking tutorial from the macOS Big Sur blog. after pasting the commands in .vmx file, I am stuck with the apple logo, and it’s not showing any progress bar. I think using some other cpu profile for masking might work, I am not so sure so can you please help me with my problem. Thanks.
-Regards
Anonymous95
Hello. Tell me more about for stuck? The Apple logo hand with no progress bar?
Can you check the number of CPU in VMWare setting? VMWare version, Specs of the Host machine?